Using Composer in IONOS web hosting plans
Composer helps you manage external sources and libraries in your PHP projects. Although the tool isn’t included in IONOS web hosting by default, it can be installed in just a few steps.
Step 1: Update your PHP version
Before downloading and launching Composer, it’s best to update your PHP version. To do that, log into your IONOS account and navigate to the hosting section where you’ll find the PHP settings. Select the domain you want to check and update the PHP version for. Now you’ll be presented with a list of available PHP versions. It’s best to choose one of the latest versions and then save the new settings. You can find more information about this topic in our article “Display or Change PHP Versions” in the IONOS Help Center.
Still looking for the right server? Web hosting from IONOS can be scaled flexibly, making it suitable for large and small projects alike.
Step 2: Create an SSH connection
By default, Composer isn’t operated via a graphical user interface (GUI), but via Secure Shell (SSH) access. To do this, use an SSH client like PuTTY and enter the credentials for your server. Now you can control your server from the command line. Detailed instructions on how to establish an SSH connection with PuTTY are available in the IONOS Help Center.
Almost all IONOS plans enable shell access via SSH. If your plan doesn’t support SSH access, it’s best to switch to a different hosting plan.
To use Composer in your IONOS web hosting plan, log in via SSH and follow the steps. You can find more information about how to install and use Composer with Composer documentation.
Step 3: Download PHP Composer
Next, verify that PHP was updated successfully by entering the following command:
ls /etc/ | grep phpYou should now see a list of every version of PHP installed on the system. To ensure that you are using the CLI-version of PHP, replace the phrase “phpX.X” with the most recent version that is installed on your system.
Use the following command to download the installation file:
phpX.X-cli -r "copy('https://getcomposer.org/installer', 'composer-setup.php');"Step 4: Verify the checksum
For security purposes, it’s best to compare the checksum in the terminal. This way you can be sure that you haven’t downloaded malicious software but an original file:
phpX.X-cli -r "if (hash_file('SHA384', 'composer-setup.php') === '55ce33d7678c5a611085589f1f3ddf8b3c52d662cd01d4ba75c0ee0459970c2200a51f492d557530c71c15d8dba01eae') { echo 'Installer Verified'; } else { echo 'Installer Corrupt'; unlink('composer-setup.php'); } echo PHP_EOL;"The checksum (that’s the long string of numbers) changes with each new Composer version. The current version of the checksum can be found on the official GitHub page. To ensure that you are comparing the checksum for the most recent version of Composer, use the checksum provided on their GitHub page.
Step 5: Install Composer
Launch the installation file:
phpX.X-cli composer-setup.phpThe system will confirm the successful installation of Composer. Afterwards you can remove the setup file again:
phpX.X-cli -r "unlink('composer-setup.php');"Following this, there’ll be a file named “composer.phar” in your webspace. You can execute this file using the following command:
phpX.X-cli composer.pharIt is recommended to create an alias for this command so that you do not have to include your PHP version and the path to composer.phar each time. To do this, execute the following command. In case you want to store composer.phar in a different folder, replace ~/composer.phar with the respective file path.
echo "alias composer='/usr/bin/phpX.X-cli ~/composer.phar'" >> ~/.bash_profileYour changes will be effective the next time you log in via SSH. Then, you can use Composer by simply entering the command composer into the shell.
Step 6: Launch Composer for the first time
Now you can launch Composer:
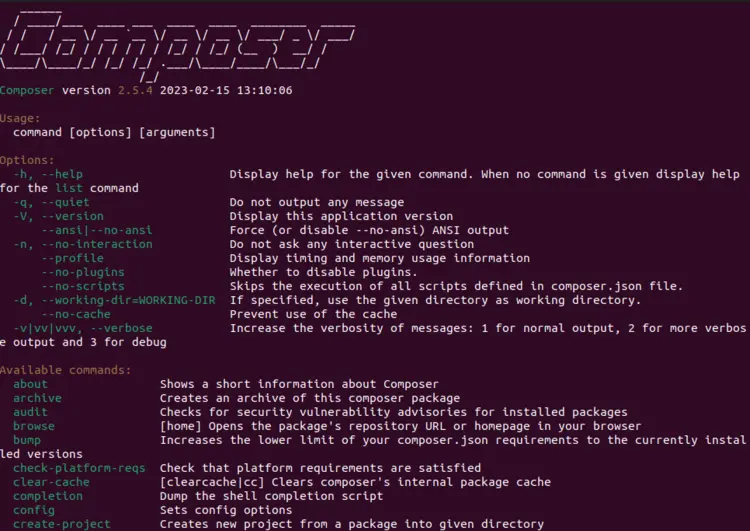
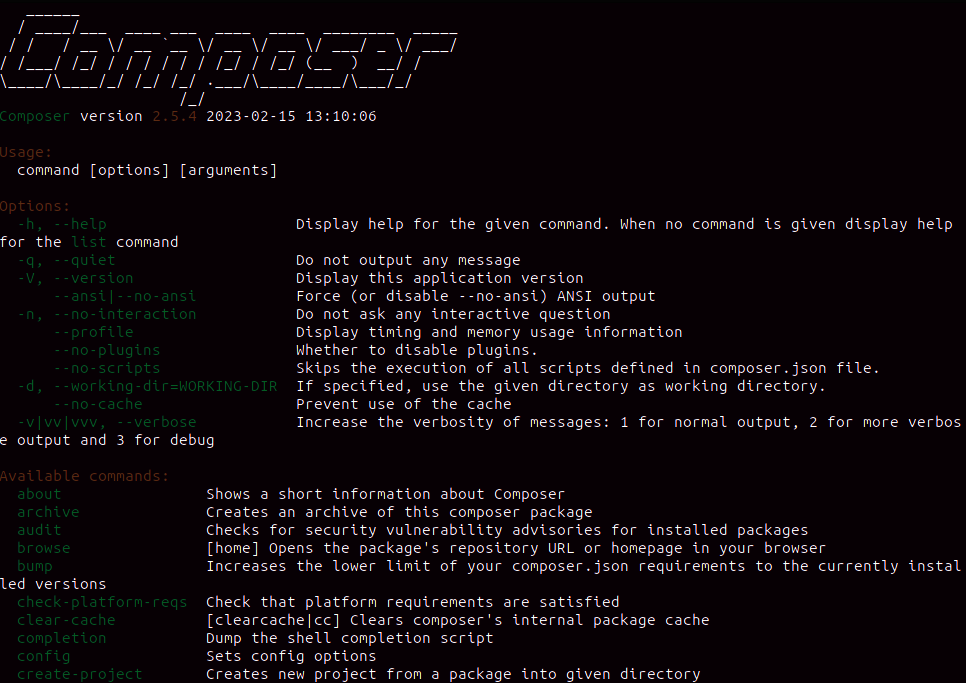
composerThe result is an overview of all the Composer commands.

To make sure you are always using the latest Composer version, use the following command to activate self-update:
composer self-updateIONOS’ Digital Guide provides installation instructions for PHP Composer for different operating systems. These can be helpful if you don’t have a web hosting plan with IONOS:


