
1. Overview
In this codelab, you will learn how to add powerful search features to your app using Firestore vector similarity search. You will implement a semantic search feature for a note-taking app written in Swift and SwiftUI.

What you will learn
- How to install the Vector Search with Firestore extension to compute vector embeddings.
- How to call Firebase Cloud Functions from a Swift application.
- How to pre-filter data based on the signed-in user.
What you will need
- Xcode 15.3
- The codelab sample code. You will download this in a later step of the codelab.
2. Create and set up a Firebase project
To use the Firebase Vector Search extension, you need a Firebase project. In this part of the codelab, you will create a new Firebase project, and activate the required services such as Cloud Firestore and Firebase Authentication.
Create a Firebase project
- Sign in to Firebase
- In the Firebase console, click Add project, then name your project Firestore Vector Search Lab
- Click through the project creation options. Accept the Firebase terms if prompted.
- On the Google Analytics screen, uncheck the Enable Google Analytics for this project box, because you won't be using Analytics for this app.
- Finally, click on Create project.

To learn more about Firebase projects, see Understand Firebase projects.
Enable and set up Firebase products in the console
The app that you're building uses several Firebase products that are available for Apple apps:
- Firebase Authentication to easily allow your users to sign in to your app.
- Cloud Firestore to save structured data on the cloud and get instant notification when data changes.
- Firebase Security Rules to secure your database.
Some of these products need special configuration or need to be enabled using the Firebase console.
Enable anonymous authentication for Firebase Authentication
This application makes use of anonymous authentication to allow users to start using the app without first having to create an account. This results in a low-friction onboarding process. To learn more about anonymous authentication (and how to upgrade to a named account), see Best Practices for anonymous authentication.
- In the left-side panel of the Firebase console, click Build > Authentication. Then click Get started.
- You're now in the Authentication dashboard, where you can see signed-up users, configure sign-in providers, and manage settings.
- Select the Sign-in method tab (or click here to go directly to the tab).
- Click Anonymous from the provider options, toggle the switch to Enable, and then click Save.

Set up Cloud Firestore
This Swift application uses Cloud Firestore to save notes. Here is how to set up Cloud Firestore:
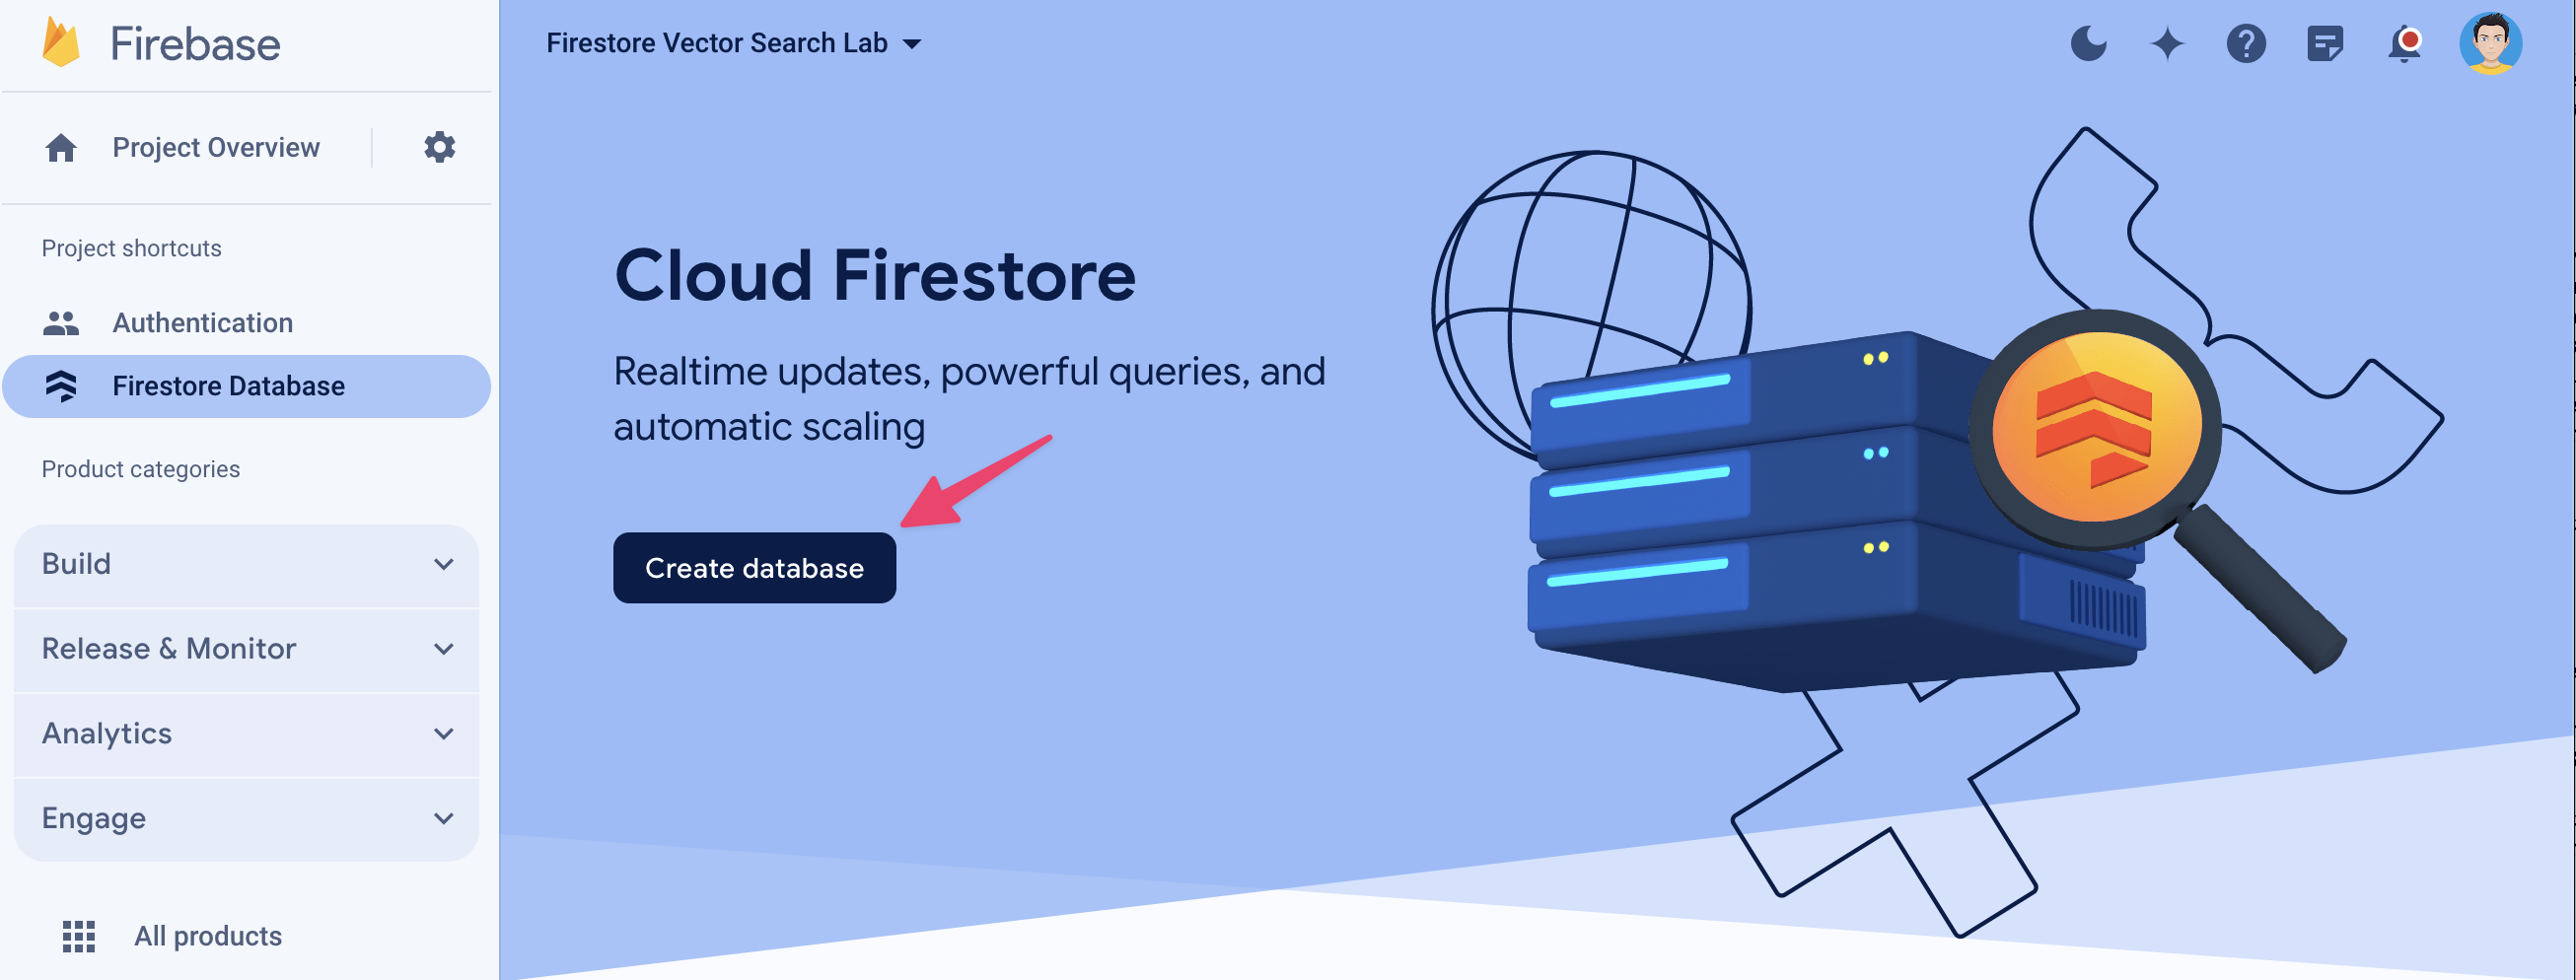
- In the left-side panel of the Firebase console, click Build > Firestore Database. Then click Create database.
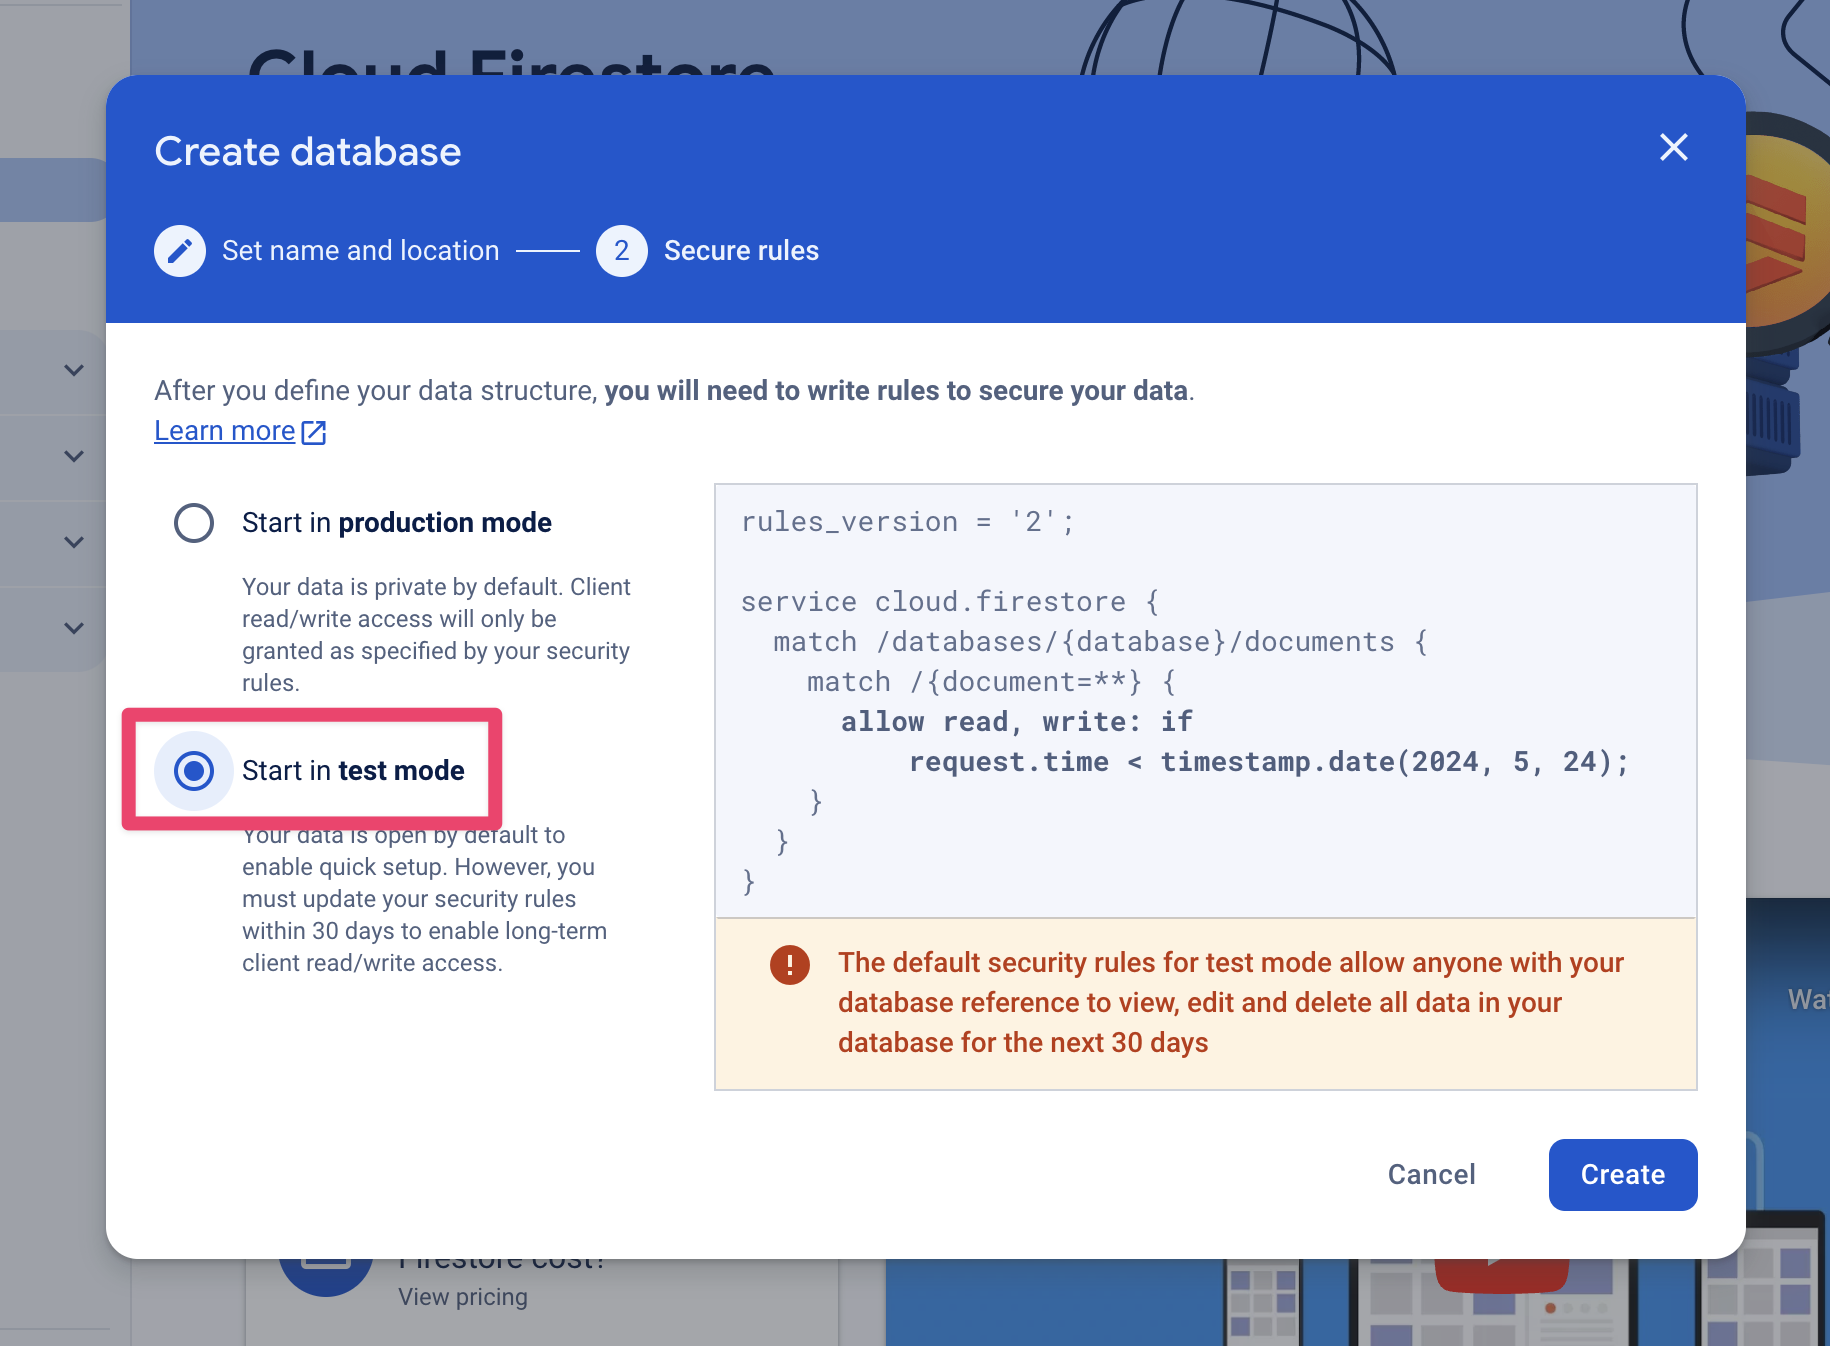
- Select the location for your database, making sure you pick a location where Gemini is available (you can just use us-central1). Note, though, that this location can't be changed later. Click Next.
- Select the Start in test mode option. Read the disclaimer about the security rules. Test mode ensures that you can freely write to the database during development.
- Click Create to create the database.
3. Connect the mobile app
In this section of the codelab, you will download the source code for a simple note-taking app, and connect it to the Firebase project you just created.
Download the sample app
- Go to https://github.com/FirebaseExtended/codelab-firestore-vectorsearch-ios, and clone the repository to your local machine
- Open the Notes.xcodeproj project in Xcode
Connect the app to your Firebase project
For your app to be able to access Firebase services, you will need to set up the app in the Firebase console. You can connect multiple client applications to the same Firebase project, for example if you create an Android or web app, you should connect them to the same Firebase project.
To learn more about Firebase projects, see Understand Firebase projects.
- In the Firebase console, go to the overview page of your Firebase project.
- Click on the iOS+ icon to add your iOS app.
- In the Add Firebase to your Apple app screen, insert the bundle ID from the Xcode project (com.google.firebase.codelab.Notes).
- If you like, you can enter an app nickname (Notes for iOS).
- Click on Register app to advance to the next step.
- Download the GoogleServices-Info.plist file.
- Drag GoogleServices-Info.plist into the Notes folder of your Xcode project. A good way to do this it to drop it beneath the Assets.xcassets file.
- Select Copy items if needed, make sure that the Notes target is selected in Add to targets, and click on Finish.
- In the Firebase console, you can now click through the rest of the setup process: the sample you downloaded in the beginning of this section already has the Firebase Apple SDK installed, and the initialisation set up. You can finish the process by clicking Continue to console.


Run the app
It's now time to take the app for a spin!
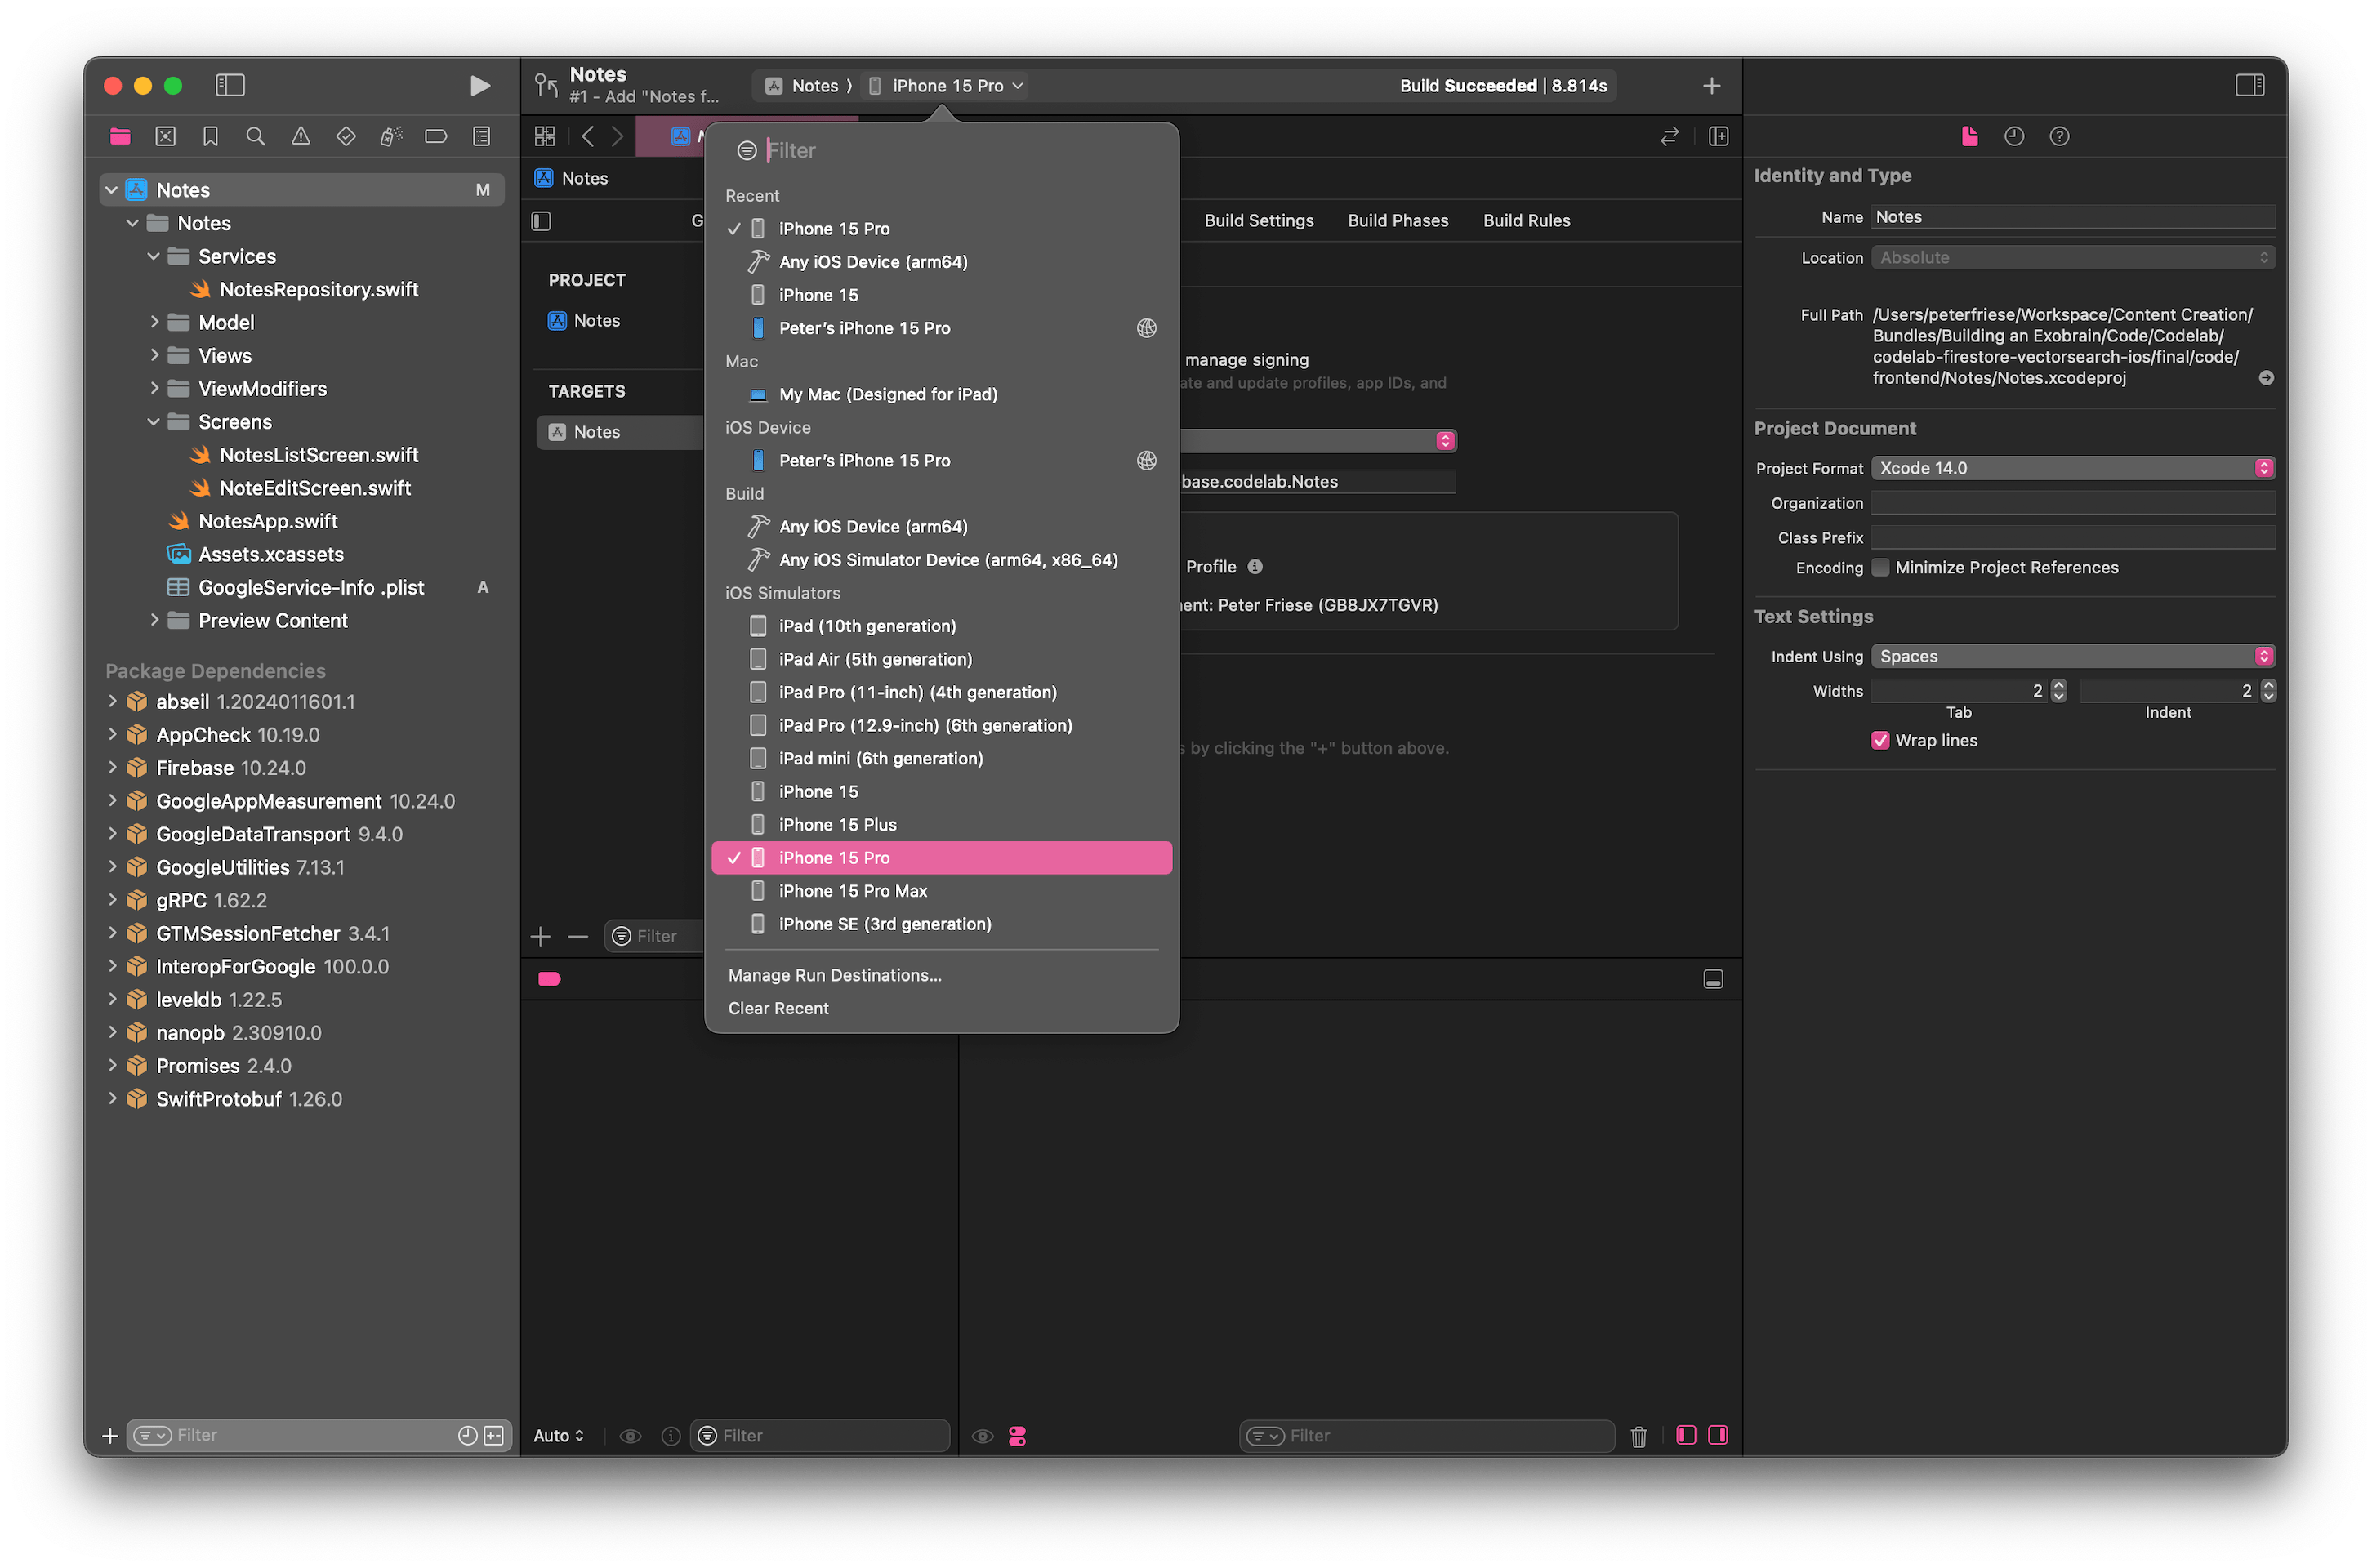
- Back in Xcode, run the app on the iOS Simulator. In the Run Destinations drop-down, first select one of the iOS Simulators.
- Then, click the Run button, or press ⌘ + R
- Once the app has successfully launched on the Simulator, add a couple of notes.
- In the Firebase console, navigate to the Firestore data browser, so you can see new documents being created as you add new notes in the app.

4. Install the Vector Search with Firestore extension
In this part of the codelab, you will install the Vector Search with Firestore extension, and configure it to the requirements of the note-taking app you're working on.
Initiate installing the extension
- Still in the Firestore section, click on the Extensions tab.
- Click on Explore Extensions Hub.
- Type in "vector".
- Click on "Vector Search with Firestore extension".
This will take you to the extension's details page, where you can read more about the extension, how it works, which Firebase services it requires, and how you can configure it.
- Click on Install in Firebase console.
- You will be presented with a list of all your projects.
- Pick the project you created in the first step of this codelab.


 This will take you to the extension's details page, where you can read more about the extension, how it works, which Firebase services it requires, and how you can configure it.

Configure the extension
Firebase Extensions make use of Cloud Functions for Firebase, which require your project to be on the pay-as-you-go Blaze plan. Before you can use the Vector Search with Firestore extension, you need to upgrade your project.
- Click on Upgrade project to continue.
- Select an existing billing account, or create a new one. Click continue.
- Set a budget (e.g. 10 USD), click on Continue, then click on Purchase.
- Review the APIs enabled and resources created.
- Enable the required services.
- When enabling Cloud Storage, select test mode for the security rules.
- Confirm that Cloud Storage will use the same location as your Cloud Firestore instance.
- Once all services are enabled, click on Next.
- Review access granted to this extension.
- Configure the extension:
- Select Vertex AI as the LLM
- Collection path: notes
- Default query limit: 3
- Input field name: text
- Output field name: embedding
- Status field name:* *status*
- Embed existing documents: Yes
- Update existing documents: Yes
- Cloud Function location: us-central1
- Click on Install extension to finish the installation.


This might take a couple of minutes. While you're waiting for the installation to complete, feel free to advance to the next section of the tutorial and read some background information about vector embeddings.
5. Background
While you're waiting for the installation to finish, here's some background information about how the Vector Search with Firestore extension works.
What are Vectors, Embeddings, and Vector Databases?
- Vectors are mathematical objects that represent the magnitude and direction of a quantity. They can be used to represent data in a way that makes it easier to compare and search.
- Embeddings are vectors that represent the meaning of a word or phrase. They are created by training a neural network on a large corpus of text and learning the relationships between words.
- Vector databases are databases that are optimized for storing and searching vector data. They allow for efficient nearest neighbor search, which is the process of finding the most similar vectors to a given query vector.
How does Vector Search work?
Vector search works by comparing the query vector to all of the vectors in the database. The vectors that are most similar to the query vector are returned as the search results.
The similarity between two vectors can be measured using a variety of distance metrics. The most common distance metric is the cosine similarity, which measures the angle between two vectors.
6. Try the Vector Search with Firestore extension
Before using the Vector Search with Firestore extension in the iOS app you downloaded earlier in this codelab, you can try out the extension in the Firebase console.
Read the documentation
Firebase Extensions include documentation on how they work.
- Once the extension has finished installing, click on the Get started button.
- Check out the "How this extension works" tab - it explains:
- how to compute embeddings for documents by adding them to the
notescollection, - how to query the index by calling the
ext-firestore-vector-search-queryCallablecallable function, - or how to query the index by adding a query document to the
_firestore-vector-search/index/queriescollection. - It also explains how to set up a custom embedding function - this is useful if none of the LLMs supported by the extension meets your requirements, and you would like to use a different LLM to compute embeddings.
- how to compute embeddings for documents by adding them to the
- Click on the Cloud Firestore dashboard link to go to your Firestore instance
- Navigate to the
_firestore-vector-search/indexdocument. It should show that the extension has finished computing the embeddings for all of the notes documents you created in an earlier step in this codelab. - To verify this, open one of the notes documents, and you should see an additional field named
embeddingof typevector<768>, as well as astatusfield.


Create a sample document
You can create a new document in the Firebase console to see the extension in action.
- Still in the Firestore data browser, navigate to the
notescollection and click on + Add document in the middle column. - Click Auto-ID to generate a new unique document ID.
- Add a field named
textof type string, and paste some text into the value field. It's important that this is not lorem ipsum or some other random text. Pick a news article, for example. - Click Save.
- Notice how the extension adds a status field to indicate it is processing data.
- After a short moment, you should see a new field
embeddingwith a value ofvector<768>.


Perform a query
The Vector Search with Firestore extension has a nifty little feature that allows you to query the document index without having to connect an app.
- In the Firestore section of the Firebase console, go to the
_firestore-vector-search/indexdocument - Click on + Start collection
- Create a new sub-collection named
queries - Create a new document and set the
queryfield to a text that occurs in one of your documents. This works best for semantic queries, like "How can I map Firestore documents with Swift" (provided at least one of the notes you added contains text that discusses this topic). - You might see an error in the status
- This is due to a missing index. To set up the missing index configuration, go to the Google Cloud console for your project by following this link, and then selecting your project from the list
- In the Cloud Log Explorer, you should now see an error message saying "FAILED_PRECONDITION: Missing vector index configuration. Please create the required index with following gcloud command: ..."
- The error message also contains a
gcloudcommand that you need to run to configure the missing index. - Run the following command from your command line. If you don't have the
gcloudCLI installed on your machine, follow the instructions here to install it.
Creating the index takes a few minutes. You can check the progress on the Indexes tab in the Firestore section of the Firebase console.gcloud alpha firestore indexes composite create --project=INSERT-YOUR=PROJECT-ID-HERE --collection-group=notes --query-scope=COLLECTION --field-config=vector-config='{"dimension":"768","flat": "{}"}',field-path=embedding - Once the index is set up, you can create a new query document.
- You should now see a list of matching document IDs in the results field
- Copy one of those IDs, and go back to the
notescollection. - Use ⌘+F to search for the document ID you copied - this document is the one that best matches your query.


7. Implement semantic search
It's finally time to connect your mobile app to the Vector Search with Firestore extension and implement a semantic search feature that will allow your users to search their notes using natural language queries.
Connect the callable function for performing queries
The Vector Search with Firestore extension includes a Cloud Function that you can call from your mobile app to query the index you created earlier in this codelab. In this step, you will establish a connection between your mobile app and this callable function. Firebase's Swift SDK includes APIs that make calling remote functions seamless.
- Go back to Xcode, and make sure you're in the project you cloned in a previous step in this codelab.
- Open the
NotesRepository.swiftfile. - Find the line containing
private lazy var vectorSearchQueryCallable: Callable
To invoke a callable Cloud Function, you need to provide the name of the function you want to call.
- Go to the Firebase console for your project, and open the Functions menu item in the Build section.
- You will see a list of functions that have been installed by the extension.
- Search for the one named
ext-firestore-vector-search-queryCallable, and copy its name. - Paste the name into your code. It should now read
private lazy var vectorSearchQueryCallable: Callable<String, String> = functions.httpsCallable("ext-firestore-vector-search-queryCallable")
Call the query function
- Find the method
performQuery - Call your callable function by invoking
let result = try await vectorSearchQueryCallable(searchTerm)
As this is a remote call, it might fail.
- Add some basic error handling to catch any errors and log them to Xcode's console.
private func performQuery(searchTerm: String) async -> [String] {
  do {
    let result = try await vectorSearchQueryCallable(searchTerm)
    return [result]
  }
  catch {
    print(error.localizedDescription)
    return []
  }
}
Connect the UI
To allow users to search their notes, you will implement a search bar in the notes list screen. When the user types in a search term, you need to invoke the performQuery method you implemented in the previous step. Thanks to the searchable and task view modifiers provided by SwiftUI, this only requires a couple of lines of code.
- First, open
NotesListScreen.swift - To add a search box to the list view, add the
.searchable(text: $searchTerm, prompt: "Search")view modifier just above the line.navigationTitle("Notes") - Then, invoke the search function by adding the following code just below:
.task(id: searchTerm, debounce: .milliseconds(800)) {
  await notesRepository.semanticSearch(searchTerm: searchTerm)
}
This code snippet calls your semanticSearch method asynchronously. By providing a timeout of 800 milliseconds, you instruct the task modifier to debounce the user's input by 0.8 seconds. This means that semanticSearch will only be called once the user pauses typing for more than 0.8 seconds.
Your code should now look like this:
...
List(repository.notes) { note in
  NavigationLink(value: note) {
    NoteRowView(note: note)
  }
  .swipeActions {
    Button(role: .destructive, action: { deleteNote(note: note) }) {
      Label("Delete", systemImage: "trash")
    }
  }
}
.searchable(text: $searchTerm, prompt: "Search")
.task(id: searchTerm, debounce: .milliseconds(800)) {
  await notesRepository.semanticSearch(searchTerm: searchTerm)
}
.navigationTitle("Notes")
...
Run the app
- Press ⌘ + R (or click on the Run button) to launch the app on the iOS Simulator
- You should see the same notes you added in the app earlier in this codelab, as well as any notes you added via the Firebase console
- You should see a search field at the top of the Notes list
- Type in a term that appears in one of the documents you added. Again, this works best for semantic queries, like "How can I call asynchronous Firebase APIs from Swift" (provided at least one of the notes you added contains text that discusses this topic).
- You probably expect to see the search result, but instead, the list view is empty, and the Xcode console displays an error message: "The function was called with an invalid argument"

This means you sent the data in the wrong format.
Analyze the error message
- To find out what's wrong, go to the Firebase console
- Go to the Functions section
- Find the
ext-firestore-vector-search-queryCallablefunction, open the overflow menu by clicking on the three vertical dots - Select View logs to go to the logs explorer
- You should see an error
Unhandled error ZodError: [
  {
    "code": "invalid_type",
    "expected": "object",
    "received": "string",
    "path": [],
    "message": "Expected object, received string"
  }
]
This means you sent the data in the wrong format.
Use the correct data types
To find out which format the extension expects the parameters to be in, check out the extension's documentation.
- Go to the Extensions section on the Firebase console
- Click on Manage ->
- In the How this extension works section, you will find a specification of the input and output parameters.
- Go back to Xcode, and navigate to
NotesRepository.swift - Add the following code at the beginning of the file:
private struct QueryRequest: Codable { var query: String var limit: Int? var prefilters: [QueryFilter]? } private struct QueryFilter: Codable { var field: String var `operator`: String var value: String } private struct QueryResponse: Codable { var ids: [String] }QueryRequestmatches the structure of the input parameter the extension expects, according to the extension's documentation. It also contains a nestedprefilterattribute that you will need later.QueryResponsematches the structure of the extension's response. - Find the callable function specification and update the input and output types
private lazy var vectorSearchQueryCallable: Callable<QueryRequest, QueryResponse> = functions.httpsCallable("ext-firestore-vector-search-queryCallable") - Update the invocation of the callable function in
performQueryprivate func performQuery(searchTerm: String) async -> [String] { do { let queryRequest = QueryRequest(query: searchTerm, limit: 2) let result = try await vectorSearchQueryCallable(queryRequest) print(result.ids) return result.ids } catch { print(error.localizedDescription) return [] } }


Run the app again
- Run the app again
- Type a search query that contains terms included in one of your notes
- You should now see a filtered list of notes

Pre-filter user data
Before you break out in dance to celebrate - there is a problem with the current version of the app: the result set contains data by all users.
You can verify this by running the app on a different simulator and adding more documents. The new documents will only show up in that simulator, if you run the app again on the other simulator, you will only see documents you created the first time around.
If you perform a search, you will notice that the call to vectorSearchQueryCallable returns document IDs that might belong to the other user. To prevent this, we need to use a prefilter.
In performQuery, update your code as follows:
  let prefilters: [QueryFilter] = if let uid = user?.uid {
    [QueryFilter(field: "userId", operator: "==", value: uid)]
  }
  else {
    []
  }

  let queryRequest = QueryRequest(query: searchTerm,
                                  limit: 2,
                                  prefilters: prefilters)
This will pre-filter the data based on the logged-in user's ID As you might expect, this requires the Firestore index to be updated.
Run the following command from the command line to define a new Firestore index that includes both the userId and the vector embeddings in the embedding field.
gcloud alpha firestore indexes composite create --project=INSERT-YOUR-PROJECT-ID-HERE --collection-group=notes --query-scope=COLLECTION --field-config=order=ASCENDING,field-path=userId --field-config=vector-config='{"dimension":"768","flat": "{}"}',field-path=embedding
Once the index has finished building, run the app again to verify it works as expected

8. Congratulations
Congratulations - on successfully completing this codelab!
In this codelab, you learned how to:
- Set up a Cloud Firestore database with semantic search enabled.
- Create a simple SwiftUI app to interact with the database.
- Implement a search bar using SwiftUI's searchable view modifier and the task modifier.
- Call a Cloud Function to perform a semantic search on the database, using the Firestore SDK's Callable interface.
With the knowledge you gained in this codelab, you can now build powerful applications that leverage the semantic search capabilities of Cloud Firestore to provide users with a more intuitive and efficient search experience.
To learn more about Firestore's new vector field and how to compute vector embeddings, check out the documentation.