- About
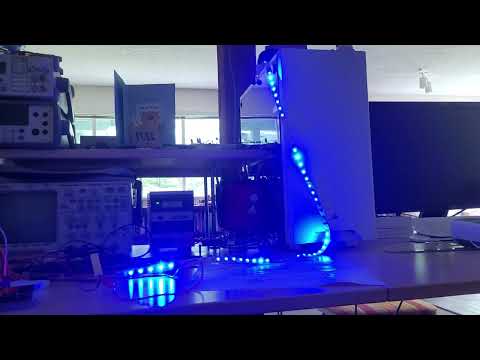
- Video Demo
- Running Examples
- Configuring A New Project
stm32_APA102 is a C++ library for APA102 led pixel tape using cube HAL.
It contains two examples, APA102_driver_basic_example demonstrating the basic functionality of the driver,
and APA102_driver_animations_example which utilizes a timer peripheral to create some animations.
The examples are compiled for an stm32l476RGT.
If a stm32l476RGT is being used:
From within stm32CubeIDE, click file->import, then select Existing Projects into Workspace, then browse to the respective example folder and click next.
If you are not using an stm32l476RGT:
Follow the directions in the Configuring A New Project then copy
and paste the main_cpp.cpp of the respective example to your_project/core/src and main_cpp.h to your_project/core/inc.
Next, edit the main.c file to include the main_cpp.h header and call the cpp_main() function:
/* Private includes ----------------------------------------------------------*/
/* USER CODE BEGIN Includes */
#include "main_cpp.h"

//...

//farther below after MX_init functions
  /* USER CODE BEGIN 2 */
  //jump to cpp program
  cpp_main();
/* USER CODE END 2 */1.
Open STM32CubeIDE and create a new project (file->new->stm32_project).
2.
Find your controller from the list and hit next to proceed to the project window.
3.
Select C++ from Targeted Language and enter your project name on the STM32 project window.
4.
From the your_project.ioc pinout and configuration file, first select the Clock Configuration.
We want around 16 to 20MHz for our SPI SCLK, as long as you can derive that from your HCLK. Here,
I am using 80MHz:
5.
Next, select your desired SPI peripheral from Pinout & Configuration.
Set the Mode to Transmit Only Master, Data Size to 8 bits, CPOL to high, CPHA to 2 Edge (SPI mode 3), and the Prescaler to a suitable divisor to achieve 16 - 20MHz on SCLK.
5.
From the DMA settings tab of the same SPI peripheral, add a request for SPIX_TX (in this case SPI1) by clicking the add button.
Set the priority to high/very high, if possible.
6.
From the NVIC settings tab of the same SPI peripheral, enable the respective SPI global interrupt.
7.
If you are not using the animations, skip to step 10.
8.
Select a timer peripheral to use for driving the animations from Pinout & Configuration and set the Prescaler to achieve a 20MHz
tick frequency (in this case, 80MHz / 4 = 20MHz), alternatively, replace TIM_TICK_FREQ in APA102Animation.h with your used tick frequency.
9.
Select the NVIC Settings tab of the same timer peripheral and enable its respective interrupt.
10.
From Project Manager select the Advanced Settings tab and enable Register CallBack on SPI, if you are using animations enable TIM as well:
11.
From Project Manager select the Code Generator and check '.c/.c' files per peripheral.
12.
Hit ctrl+s to save and generate code.
13.
Select project->properties and click the Settings menu underneath the C/C++ Build drop down.
In MCU/MPU G++ Compiler set the Language Standard to C++ 20.
14.
Copy and paste the Inc and Src from the repo APA102_driver folder into your_project/Core